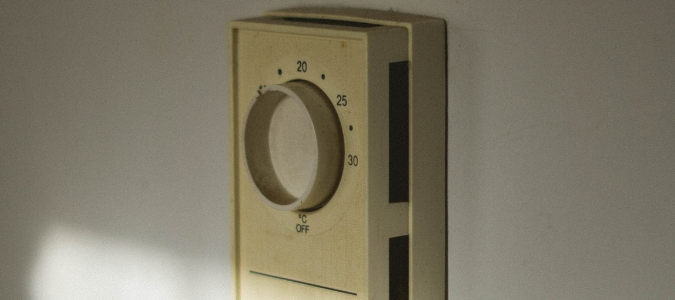
You can set the thermostat in your home or office at the perfect temperature—whatever that means to you personally—but how do you guarantee that the thermostat is reading the room’s temperature correctly?
If the thermostat isn’t calibrated correctly, you could find yourself looking for a better night’s rest because you’re uncomfortable with the indoor temperature. Even more alarming, you could be leaving your air conditioner running constantly and driving your cooling costs way up trying to find the perfect temperature to set the thermostat.
Your thermostat can lose its calibration if dirt gets inside it or if it gets bumped. The result is that you may set it on 75 degrees, but it will only cool the room to 78 degrees. Constantly readjusting the thermostat can raise your utility bill by up to 10 percent. The same is true for an incorrectly calibrated thermostat that “thinks” it’s running at a lower temperature than it actually is.
Calibrating your thermostat can be done easily by a general contractor, air conditioning pros or you can try to do it yourself. We’ve explained the steps to calibrate thermostat properly below.
Check The Thermostat’s Accuracy
Let the air conditioner work for about 15 minutes, and then compare the temperature reading of the thermostat and an indoor thermometer. If the reading is more than one degree off what your thermostat is, you should keep reading to see what else you might be able to do to get your thermostat working properly.
If there’s no difference, your thermostat is properly calibrated. It’s a good practice to do this at least every month during the summertime, just to make sure you aren’t losing efficiency. If you checked the accuracy because you feel like something else isn’t quite right, it’s probably best to get a trusted AC professional in for a tune-up.
Gently Clean The Inside
If your thermostat isn’t giving you an accurate reading, you’ll next want to try to give it a cleaning. First, remove the thermostat cover and clean the inside. They all look a little different, so proceed with caution. Use soft brushes or cloths to clean the components, especially delicate coils. Some people find that a new dollar bill works well for cleaning between magnetic connections since it is soft yet slightly abrasive and very thin.
Don’t use a vacuum cleaner to clean the inside of your thermostat, since their suction can be too strong for the more delicate parts. If something is broken inside, you don’t want to suck it up into the vacuum’s reservoir, no matter what kind of part it is.
Straighten The Mercury Vial
If your thermostat continues to have problems, it’s time to try straightening the mercury vial, if you have one.
If you do, eyeball the vial to make sure it is completely straight. You may need to use a level. You should be able to adjust the vial with your fingers, but remember that there’s actual mercury inside, which should never come in contact with your skin. Be extremely careful!
If you get this far and realize that your thermostat has a mercury vial, it’s perfectly fine to stop right there and call a professional. There’s no reason to put yourself or your loved ones in danger.
Or, Tighten The Calibration Screw
If you are still with us, then the next step to get your thermostat fixed (if you don’t have a mercury vial) is to adjust the calibration screw.
This component will be located inside a curled piece of metal within the thermostat. Once you’ve found it, determine the size screwdriver you will need. Don’t use anything besides a screwdriver to turn the calibration screw.
Using a right-sized screwdriver, turn the screw back and forth slowly until the contacts open. Wait a few seconds and turn the calibration screw until the contacts close again. This simply resets the contacts, making sure that there wasn’t a bad connection between them, causing your thermostat to become uncalibrated.
Check All The Wiring Connections
That didn’t work? Time to check the wiring.
While you’re inside the thermostat, you can check to see if all the wiring is connected securely. Dirt and corrosion are big problems for wiring and connections. You can remove any signs of corrosion at the connection sites with a cotton swab, then check them again before you close up the thermostat.
Re-Check The Temperature
If you’ve done through all the steps above, you’ll want to do a final temperature check.
You’ll need to repeat the first step, checking the temperature with a glass thermometer one more time. Remember to give the thermostat about 15 minutes to (hopefully) recalibrate before taking your final reading. If you are lucky, these simple steps will fix your thermostat calibration issue.
If you follow these steps to the letter and you still see a difference of more than one degree between your thermostat and the thermometer, some bigger problem may be preventing your thermostat from accurately displaying the correct temperature.
ABC Can Handle Your Thermostat Problems
Air conditioning systems are often not the best fit for do-it-yourself projects. If you have covered the basic steps to recalibrate your thermostat and are unsuccessful, the best thing to do is call in an expert like the pros at ABC Home & Commercial Services. One of our experienced technicians can evaluate your entire air conditioning system to see where the problem is. Better yet, as a full-service AC provider, ABC can also perform routine maintenance, advise you on upgrades to make your system more energy efficient and even offer honest advice on when it’s time to retire your current unit and invest in a new one. With ABC’s help, your home will stay comfortable all year long.
